How to make hash with dry ice

What is hashish?
Thus, Hashish is simply the separated resinous glands of cannabis. If it’s pretty simple, Hashish is if you take all the sticky goodness separately from the flower, and Hashish is like distilled cannabis.
Remember that not all hashes are the same. Some types of Hashish are made with solvents, which means they may still be present in the finished product. BHO (butane hash oil) has been very popular lately, but it is widespread to find a product with a very high residual butane content. We are not saying that BHO always contains excess butane, but it is possible. If the Hashish is made correctly, there should be no trace of solvent in the final product.
Given all this, we can safely say that when making hash with dry ice, in the end, we get nothing but resin because there is no solvent in principle. The carbon dioxide that makes up dry ice is only used to freeze the resin and immediately evaporates. Buds or trimmings won’t get wet! If you make hash utilizing this method, you don’t need to think about anything but only follow the rules for handling dry ice.
How is making hashish with dry ice different?
Here is another pertinent passage from the book Hashish!:
Making Hashish consists of two stages: collecting the resin and preparing it.
While not all types of Hashish are the same, many are very similar. Water hash (also called bubble hash, ice hash) and dry ice hash are all different forms of the same thing – separated resin glands. The only difference is how the resin is separated from the plant and what the hash looks like afterward.
Although many methods can produce a similar product, using dry ice has its advantages, which ultimately make it the best way to collect resin:
- It’s faster than other methods—making Hashish with dry ice is about 25 times faster than making it with water. These are, of course, exaggerated numbers, but making Hashish with dry ice takes several minutes.
- It’s straightforward – you get top-quality hash just by shaking the bucket and bag.
- There is no moisture – Hashish is ready to drink immediately after receiving.
Returning to the quote, the production of hash consists of two stages: obtaining and preparing. We know that receiving is very easy, but what about preparation? Let’s take another look at the book and see why we need resin preparation at all:
First, preparation makes the resin powder easier to transport and turns it into a marketable commodity. Second, because early hashish smokers didn’t have mesh screens to place hashish powder on, they molded the particles into tight pieces that were easy to smoke.
In short, preparing the resin makes hash easier to sell (WHAT WE HIGHLY RECOMMEND DO NOT DO) and to smoke (unless you are 40 years old and don’t have a pipe net or bong). In other words, in our case, this is not necessary. We will save time and labor if we do not process the received product in any way and lose nothing.
So, enough quotes and introductions, let’s get started!
How to make hash with dry ice
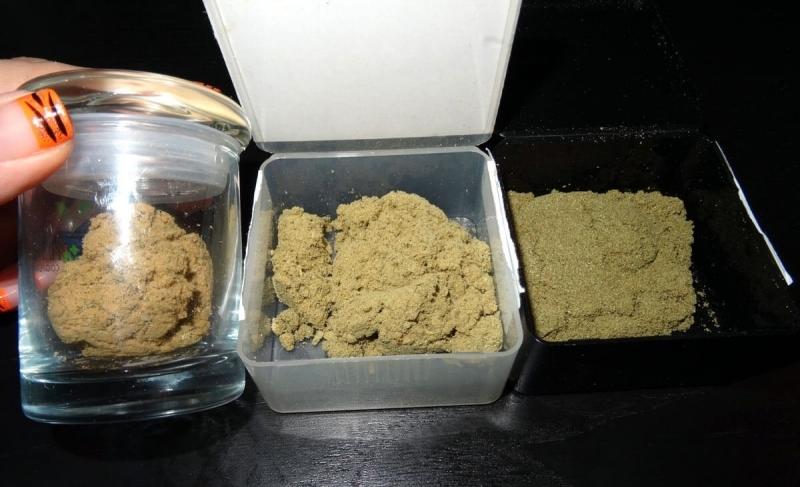
We will show you how to get hash using dry ice and hash bags in the following sizes: 73, 160, and 220 microns. A hashish bag is a tight bag made of waterproof material with a mesh bottom, which uses a nylon mesh with a known mesh width, in our case – 73, 160, and 220 microns. The mesh can be purchased in China, or you can buy ready-made bags; they are called Bubble bags or pollen bags. That’s why we chose these mesh sizes:

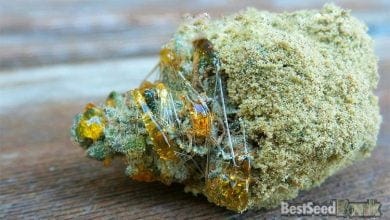
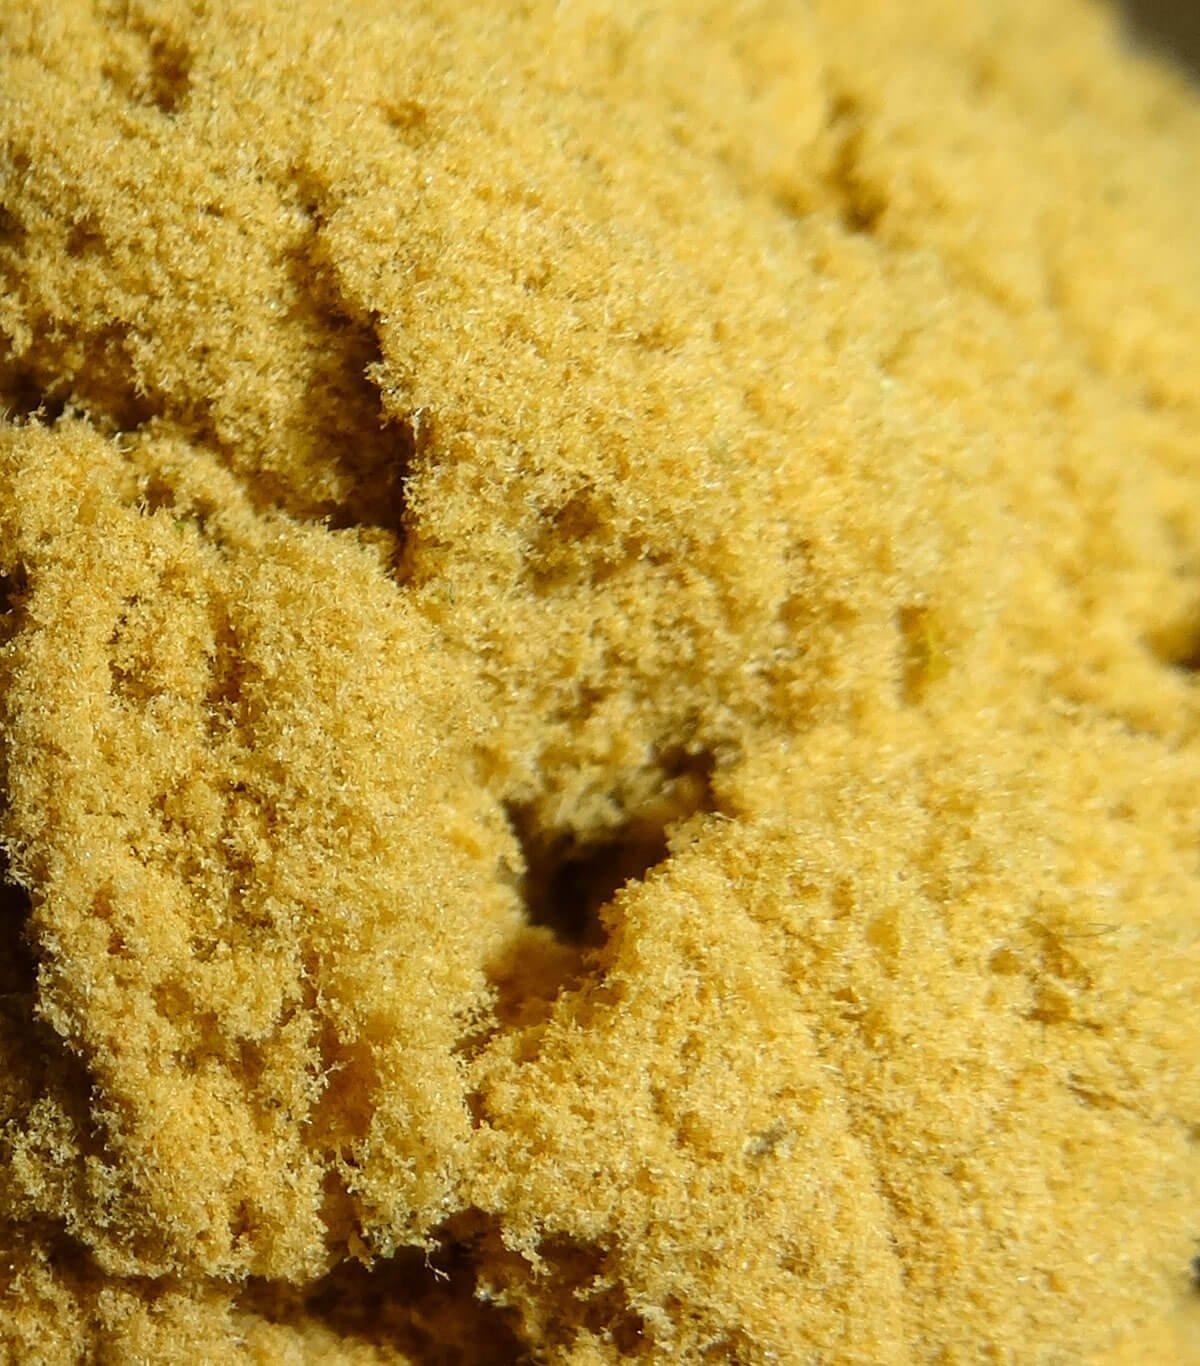
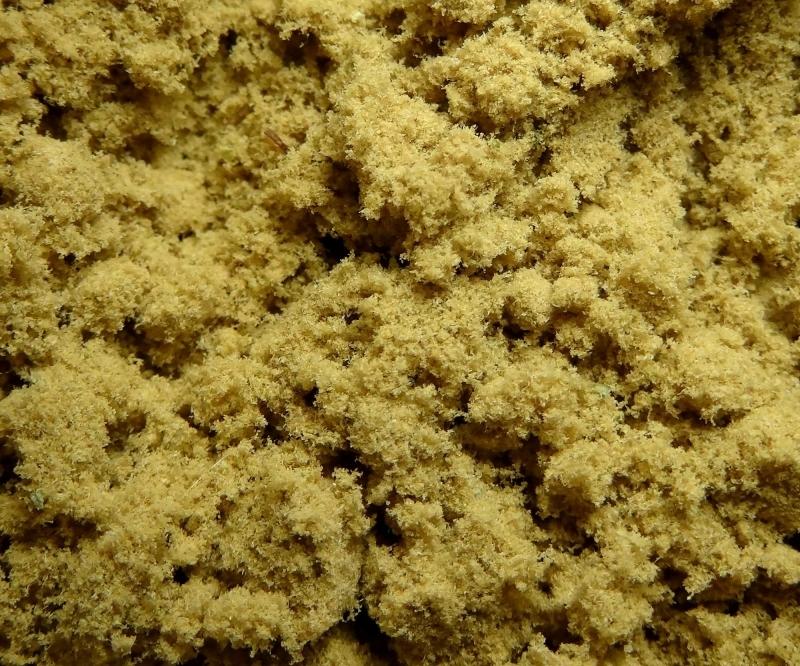
- The 73-micron mesh will weed out everything but the trichomes directly – this is the best part: only trichomes and no leafy mass. The product has a golden color and is extremely strong.
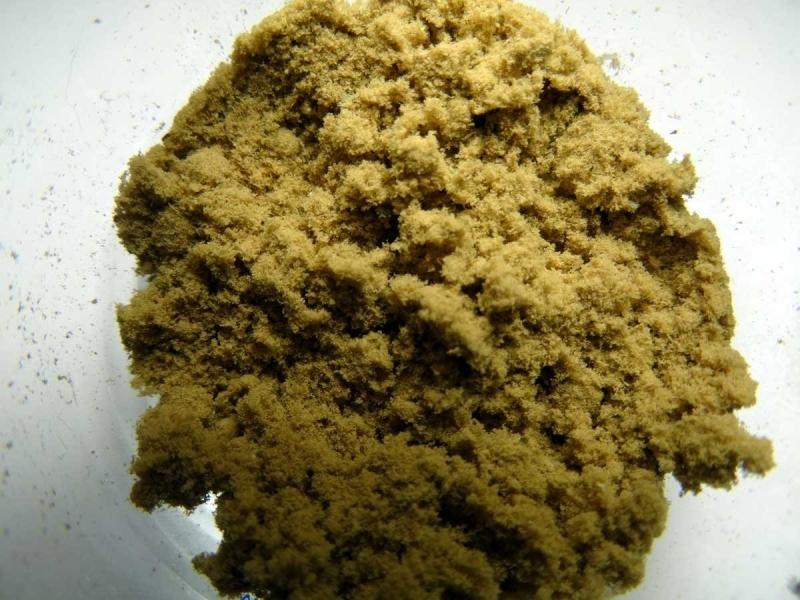
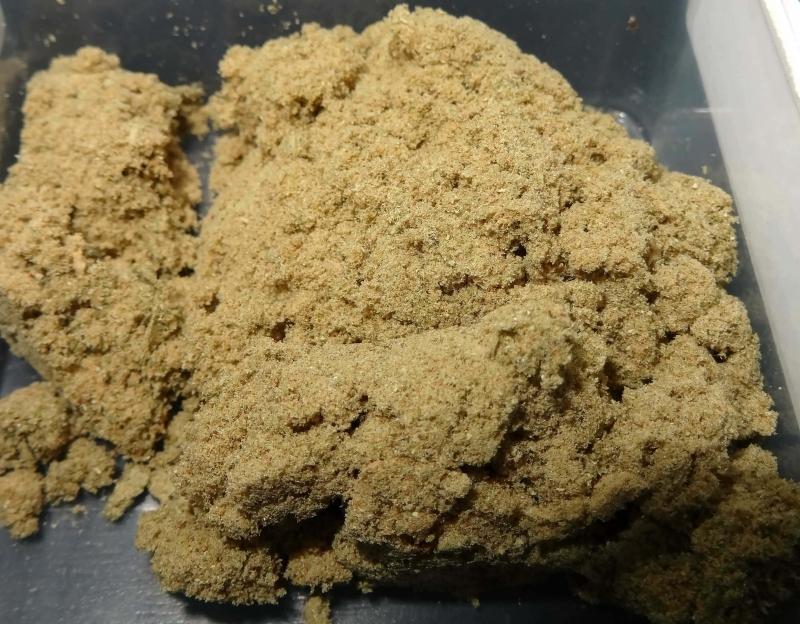
- A 160-micron mesh will weed out a medium-quality product with a little more hardwood. It’s not as cool as the 73-micron mesh product, but it still deserves attention.
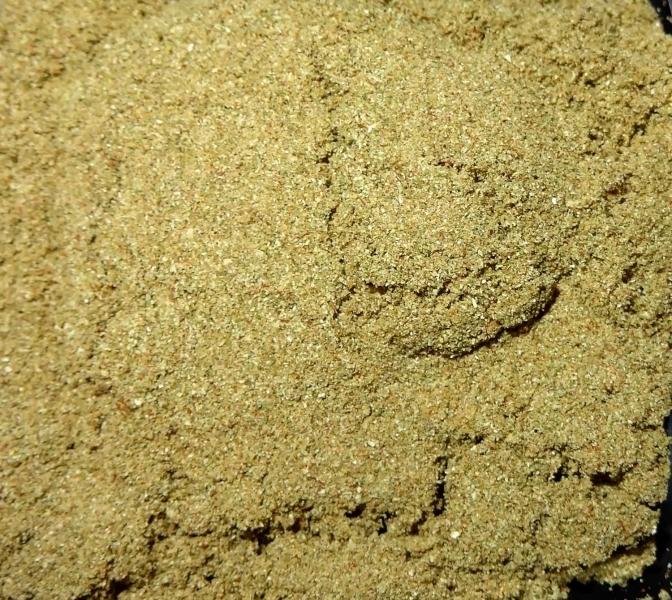
- The 220-micron mesh will weed out just about anything that isn’t leaves and stems. There will be a lot more plant mass in this sifting, but still much less than in a regular bud. It smells like a concentrated cone. I skip the 220-micron step, but I recommend doing it at least one time before giving up if you don’t like it.
First, the buds were passed through a 73-micron mesh, then 160, and all the residues went through a 220-micron mesh. What happened in the cases of 73 and 160 was not bad, but 220 was so-so. If you immediately sift through 220 microns, you will get all three previous batches together in one go.
If I have to do only one screening, I will probably choose 120 (more pure product) or 160 (more quantity) microns.
I highly recommend testing it out yourself to see what works for you.
What You Need to make dry ice hash
-
- Clean bucket, 20 liters
- Cannabis buds or trimmings
- 1–1.5 kg of dry ice
You may need a little more or less, depending on the amount of cannabis. 1.5 kg is enough for 150–170 g of cannabis.
- Bags for making hash with dry ice.
You can buy factory-made bags (bubble bags, pollen bags, hash bags), make your own from thick waterproof fabric and nylon mesh, or just use mesh.
In this article, we use 73, 160, and 220-micron meshes. These are standard sizes for such grids.
- Thick gloves
Latex gloves are not suitable. It would be best if you protected yourself from -78°C. Winter gloves or potholders will do.
- Pollen scraper
A plastic or metal spatula or just a plastic card will do.
- Flat, clean surface.
From it, you will collect Hashish.
We used a large piece of Plexiglas on the table.
Dry Ice Handling Rules.
Dry ice has some handling risks due to its low temperature or the fact that it sublimates (turns immediately into a gas) but is generally relatively safe. Quickly review the following instructions, and everything will go according to plan.
- Make sure you work in a well-ventilated area. Dry ice turns directly into carbon dioxide. Although a small amount of carbon dioxide is not dangerous, it is better to play it safe.
- Do not put dry ice in an airtight container. In sublimation, the dry ice will increase the pressure inside, and eventually, the lid will pop, or the container itself will explode.
- Do not touch dry ice with your bare hands. The sublimation temperature of dry ice is -78°C. This, of course, is not fatal, but it is quite possible to get a cold burn.
- Dispose of dry ice properly. If you throw dry ice directly into the sink or toilet, you can freeze the pipes and break the system. Better yet, in the end, just put the ice in a ventilated place, and it will simply evaporate without a trace.
Shake a bag of weed and dry ice and get hashish!
Now that you’ve got everything set up and know how to handle dry ice, let’s get started!
-
- Pour the crushed cannabis into a bucket and add some dry ice.
- Take a hash bag with a 73-micron mesh and put it over the bucket (you can attach the mesh to the top of the bucket. Shake and spin the bucket for 3-4 minutes so that the dry ice freezes the trichomes and they fall off the buds.
- Turn the bucket over, pouring the cannabis and dry ice into the bag, net side down.
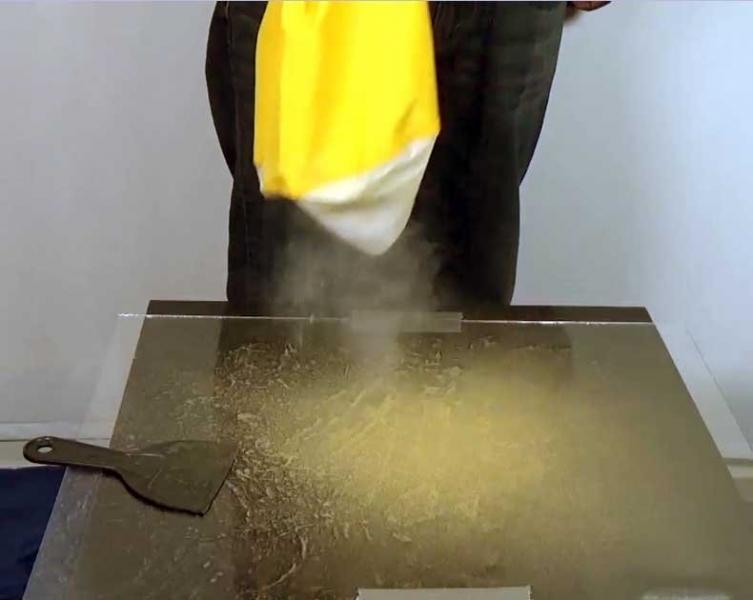
- Shake the bag (or mesh bucket if no bag is available) over a clean, flat surface. As a result, the trichomes will fall through the mesh and fall to the surface – just a rain of resin! Shake until you get tired or until the resin stops pouring.
- Use a scraper to collect pollen from the surface and place it in a container of your choice.
- Pour the cannabis with dry ice back into the bucket and repeat steps 2-5 with the 160-micron bag/mesh. Then again, with a bag of 220 microns.
You should end up with three categories of your solvent-free homemade Hashish: 73 microns (pure trichomes), 160 (not as refined, but still great), and 220 (very flavorful and very accessible!). Enjoy.
Finally: Hashish can be sprinkled on the bump, evaporated, smoked directly from the net, and mixed into the shoals. If you are using Hashish for the first time, then be careful not to overdo it – it is powerful!